So, you've decided to embark on the epic journey of building your very own Lego table. Bravo! Now, before you dive headfirst into this brick-filled adventure, let's talk about the materials and tools you'll need to bring your masterpiece to life. First things first, you'll need a sturdy table or surface that can withstand the weight of countless Lego creations and the occasional enthusiastic builder who may accidentally mistake it for a trampoline. Next, gather your trusty tools, like a hammer, nails, and a screwdriver, because let's face it, Legos may be magical, but they don't assemble themselves. And don't forget the most crucial ingredient – an endless supply of coffee to keep you fueled and focused during those late-night building sessions. So, grab your materials, unleash your inner architect, and get ready to create a Lego table that will make even the most serious builders green with envy!
An interesting fact about building a LEGO table is that it can be customized to fit any individual's preferences and needs. Whether you want a small portable table or a large permanent one, you can design and construct it accordingly. Additionally, you can incorporate various features such as storage compartments, built-in trays, or even a LEGO baseplate surface that can be easily removed or replaced. This flexibility allows LEGO enthusiasts to create a unique and personalized space for their building adventures.
So, you've got your materials and tools ready, and now it's time to unleash your inner designer and plan the layout of your Lego table. Before you dive into the brick-filled chaos, take a moment to sketch out your ideal layout. Consider the size and shape of your table, the placement of storage compartments for easy access to those precious bricks, and maybe even add a designated area for displaying your most impressive creations. Remember, this is your Lego kingdom, so let your imagination run wild as you envision the perfect space for hours of building and endless fun. Once you've got your plan in place, it's time to bring it to life and watch as your Lego table becomes the envy of builders everywhere!
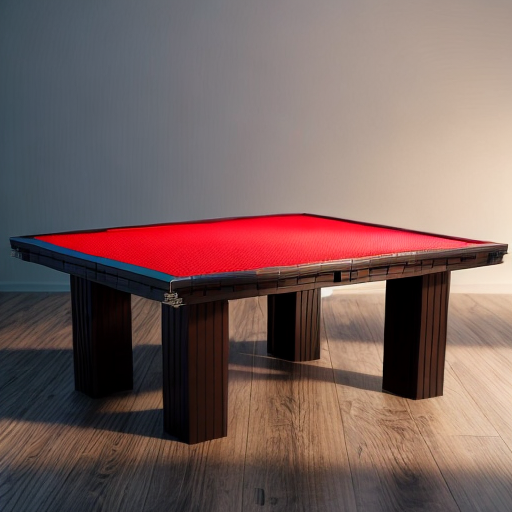
Alright, my fellow builders, it's time to roll up our sleeves and tackle the first step in creating our epic Lego table – building the base. This is where we lay the foundation for all the brick-filled adventures that lie ahead. First things first, choose a sturdy material for your base, like plywood or MDF, that can withstand the weight of countless Lego creations and the occasional enthusiastic builder who may mistake it for a trampoline. Measure and cut the base to your desired dimensions, ensuring it fits perfectly in your designated Lego kingdom. Now, it's time to assemble. Grab your trusty tools – a hammer, nails, and a screwdriver – and get ready to work some magic. Start by attaching the legs to the corners of the base, making sure they are securely fastened. If you want to add some extra stability, consider adding cross braces between the legs. Now, take a step back and admire your handiwork. You've built a solid foundation for your Lego table, a sturdy platform that will support all your wildest building dreams. So, pat yourself on the back, my fellow builders, for you have conquered the first step in this brick-filled adventure. Now, onto the next phase – let the Lego table come to life!
Did you know that the largest LEGO table ever built was over 4,000 square feet in size? It was constructed by a group of LEGO enthusiasts in the Netherlands and took over six months to complete. This massive table could accommodate hundreds of builders at once and was filled with over 4 million LEGO bricks! Talk about a dream come true for LEGO lovers!
Now that you have your sturdy base in place, it's time to take your Lego table to the next level by adding some much-needed storage. Let's face it, a builder's worst nightmare is searching for that one elusive brick in a sea of colorful chaos. So, let's get organized! Consider adding storage compartments to your table design, whether it's built-in drawers, shelves, or even repurposed bins. This will not only keep your bricks neatly organized but also make them easily accessible for your next masterpiece. Get creative with your storage solutions, and remember, the more organized you are, the more time you'll have for building and less time spent searching for that elusive 2x4 brick. So, let's get those storage compartments in place and make our Lego table a haven of organization and creativity!