So, you've decided to take your woodworking skills to the next level and build yourself a miter saw table. Good for you! Now, before you dive headfirst into this project, let's make sure you understand the basics. First things first, a miter saw table is like a best friend to your miter saw. It provides a sturdy and reliable surface for your saw to rest on, ensuring accurate and precise cuts. Think of it as the wingman to your miter saw's dating life - always there to support and enhance its performance. Now, building a miter saw table may sound intimidating, but fear not, my friend. With a little bit of patience, some basic woodworking skills, and a whole lot of enthusiasm, you'll be on your way to creating the ultimate cutting station in no time. Just remember, no matter how tempting it may be, don't start your sentences with 'Ah.' Trust me, it's a table-building faux pas you don't want to commit.
An interesting fact about building a miter saw table is that it can be customized to fit your specific needs and preferences. Whether you want to add extra storage compartments, built-in clamps, or even a dust collection system, the design possibilities are endless. This allows you to create a personalized and efficient workspace that enhances your woodworking experience.
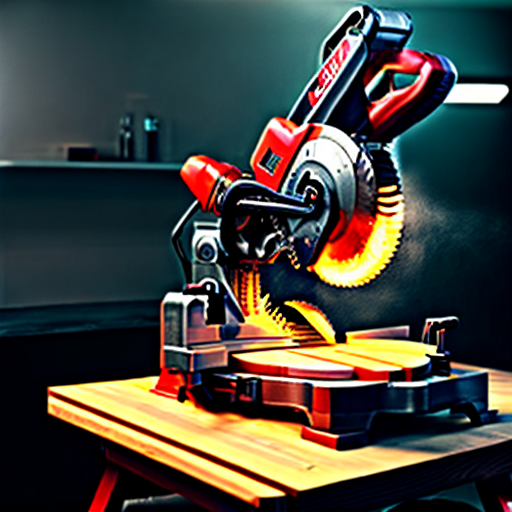
Alright, my fellow woodworking enthusiasts, it's time to gather the materials and tools for our epic miter saw table project. First things first, you'll need a sturdy and flat surface to serve as the tabletop. Plywood or MDF are great options, just make sure they're thick enough to handle the weight of your miter saw. Next up, you'll need some lumber for the frame and legs. Don't be afraid to get creative here - choose a wood that matches your style and personality. Now, let's talk about the tools. You'll definitely need a trusty circular saw to cut your materials to size, a drill to secure everything together, and a tape measure to ensure precision. Oh, and don't forget your safety gear - goggles, gloves, and a sense of humor (because let's face it, woodworking can sometimes be a comedy of errors). So, gather your materials, sharpen your tools, and get ready to embark on this miter saw table-building adventure. Let's show that table who's boss!
Alright, my fellow woodworking enthusiasts, it's time to roll up our sleeves and dive into the step-by-step guide to constructing a sturdy and functional miter saw table. Get ready to unleash your inner carpenter and create a cutting station that will make all your woodworking dreams come true.
Step 1: Plan and Design Before you start swinging hammers and cutting wood, take some time to plan and design your miter saw table. Consider the dimensions, the height that feels comfortable for you, and any additional features you may want to incorporate, like storage shelves or a dust collection system. Sketch out your design and make a list of the materials and tools you'll need.
Step 2: Gather Materials and Tools Now that you have your plan in place, it's time to gather the materials and tools. As mentioned before, you'll need a sturdy tabletop material like plywood or MDF, lumber for the frame and legs, screws or nails for assembly, a circular saw, a drill, a tape measure, and of course, your safety gear.
Step 3: Cut and Assemble the Frame Using your circular saw, cut the lumber to the desired lengths for the frame and legs. Remember to measure twice and cut once to ensure accuracy. Once you have all the pieces cut, assemble the frame using screws or nails. Make sure everything is square and level before moving on to the next step.
Step 4: Attach the Tabletop Now it's time to attach the tabletop to the frame. Place the tabletop material on top of the frame and secure it using screws or nails. Make sure it's centered and flush with the edges of the frame. This will provide a stable and level surface for your miter saw.
Step 5: Add Support Braces To enhance the stability and strength of your miter saw table, add support braces underneath the tabletop. Cut additional pieces of lumber to the appropriate length and attach them diagonally between the legs and the frame. This will prevent any wobbling or sagging of the table.
Step 6: Fine-tune and Level Once the basic structure is complete, take a moment to fine-tune and level your miter saw table. Use a level to ensure that the tabletop is perfectly horizontal. If needed, adjust the legs or add shims to achieve a level surface. This step is crucial for accurate and precise cuts.
Step 7: Optional Features If you want to take your miter saw table to the next level, now is the time to add any optional features. Install storage shelves or drawers to keep your tools and accessories organized. Consider adding a dust collection system to keep your workspace clean and free of sawdust. Get creative and make it your own!
Step 8: Sand and Finish To give your miter saw table a polished look, sand down any rough edges or surfaces. This will not only make it more visually appealing but also prevent any splinters. Apply a finish of your choice, whether it's paint, stain, or varnish, to protect the wood and enhance its durability.
Step 9: Test and Enjoy Congratulations, you've successfully constructed your very own miter saw table! Now it's time to put it to the test. Place your miter saw on the table, secure it properly, and make some precise cuts. Revel in the joy of having a sturdy and functional cutting station that will make your woodworking projects a breeze.
Remember, building a miter saw table is a labor of love, so take your time, enjoy the process, and don't be afraid to make adjustments along the way. Happy woodworking, my friends!
A fun fact about building a miter saw table is that it can be a great opportunity to repurpose and recycle materials! You can use old doors, reclaimed wood, or even repurpose an old table to create a sturdy and functional miter saw table. Not only will you save money, but you'll also give new life to materials that might have otherwise been discarded. It's a win-win for both your DIY skills and the environment!
Now that you've built your miter saw table, it's time to take it to the next level with some customizations and safety features. Get creative and add a few personal touches to make it truly your own. Consider installing a power strip or outlets for easy access to electricity. Add clamps or hold-downs to secure your workpieces firmly in place. Don't forget about safety - attach a dust collection system to keep your workspace clean and protect your lungs from harmful sawdust. And of course, always prioritize safety by wearing goggles, ear protection, and using push sticks when necessary. With these enhancements, your miter saw table will not only be functional but also a safe haven for all your woodworking adventures.