So you've decided to venture into the world of live edge tables, huh? Well, buckle up and prepare to unleash the beauty of natural wood in your home! First things first, find yourself a stunning slab of wood that speaks to your soul. Remember, it's all about embracing the imperfections and unique characteristics of each piece. Next, channel your inner lumberjack and carefully trim the edges, leaving that raw and rustic charm intact. Now, it's time to get creative with the legs. You can go for sleek and modern metal ones or embrace the organic vibe with some repurposed tree stumps. Finally, give your masterpiece a good sanding and a protective finish, and voila! You've just created a live edge table that will have your guests oohing and aahing in awe. Now, sit back, relax, and enjoy the natural beauty you've unveiled in your home.
An interesting fact about making a live edge table is that the process involves preserving the natural shape and beauty of the tree by leaving the edges of the wood slab untouched. This means that the table retains the unique contours, knots, and imperfections of the tree, giving it a truly one-of-a-kind and organic appearance. The live edge technique celebrates the natural beauty of the wood, showcasing its history and character, making each table a work of art.
So, you're on the hunt for the perfect slab to create your dream live edge table? Well, get ready to embark on a wood lover's adventure! First things first, consider the size and shape you desire for your table. Are you looking for a long and elegant dining table or a smaller, more intimate coffee table? Once you have that in mind, it's time to explore the world of wood species. Each type has its own unique grain pattern, color, and character, so choose one that resonates with your style. Don't forget to consider the durability and hardness of the wood, especially if you have rambunctious kids or pets. Lastly, embrace the imperfections! Knots, cracks, and burls add that extra touch of natural beauty to your live edge table. So, go forth, my fellow wood enthusiasts, and choose the perfect slab that will bring your vision to life!
Alright, fellow DIY enthusiasts, get ready to roll up your sleeves and dive into the world of crafting a live edge table! First things first, you'll need to gather your materials. Start with a beautiful slab of wood that speaks to your soul, ensuring it's properly dried and cured. Next, equip yourself with the necessary tools: a chainsaw or handsaw for trimming the edges, a belt sander or hand planer for smoothing out the surface, and clamps to secure the wood during the process. Now, let's get down to business. Begin by carefully trimming the edges of the slab, following the natural contours and curves of the wood. Remember, the goal is to maintain that raw and rustic charm. Once the edges are trimmed, it's time to tackle the sanding process. Start with a coarse grit sandpaper to remove any rough spots or imperfections, gradually working your way up to finer grits for a smooth and polished finish. Don't forget to pay extra attention to the live edge itself, ensuring it's properly sanded and splinter-free. Now, it's time to decide on the legs. You can opt for sleek and modern metal ones, attaching them securely to the underside of the table, or embrace the organic vibe with some repurposed tree stumps. Whichever option you choose, make sure they are level and stable. Finally, give your masterpiece a protective finish. You can choose from a variety of options, such as polyurethane, tung oil, or a natural wax, depending on the desired look and level of protection. Apply multiple coats, allowing each one to dry thoroughly before moving on to the next. And there you have it, folks! You've just crafted your very own live edge table, showcasing the beauty of natural wood in all its glory. Now, sit back, relax, and bask in the satisfaction of creating a unique and stunning piece that will undoubtedly be the envy of all your friends and family. Cheers to your woodworking skills and the beauty you've unveiled in your home!
A fun fact about making a live edge table is that each piece of wood used is completely unique, as it showcases the natural shape and imperfections of the tree it came from. This means that no two live edge tables will ever be exactly the same, making each one a truly one-of-a-kind piece of furniture!
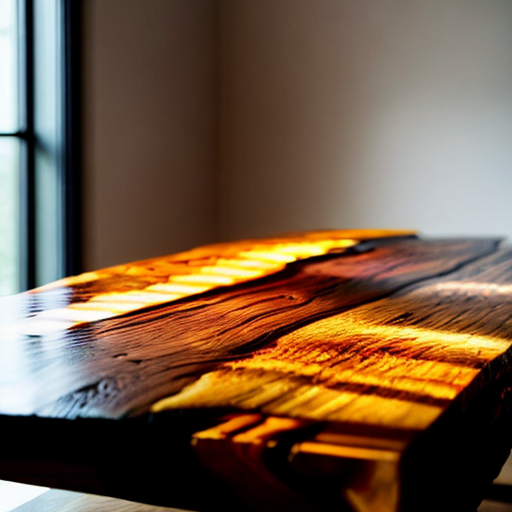
Now that you've crafted your stunning live edge table, it's time to add those finishing touches that will enhance its beauty and durability. First, consider applying a wood conditioner to nourish and protect the natural grain of the wood. This will help prevent cracking and warping over time. Next, choose a finish that suits your style and desired level of protection. Whether it's a clear varnish to showcase the wood's natural beauty or a colored stain to add depth and character, make sure to apply multiple coats, allowing each one to dry thoroughly. Don't forget to sand lightly between coats for a smooth and flawless finish. Lastly, consider adding felt pads to the bottom of the table legs to protect your floors and prevent scratches. And there you have it! With these finishing touches, your live edge table will not only be a stunning centerpiece in your home but also a durable and long-lasting piece of functional art. Enjoy the beauty you've created and let your live edge table be the envy of all who lay eyes upon it!