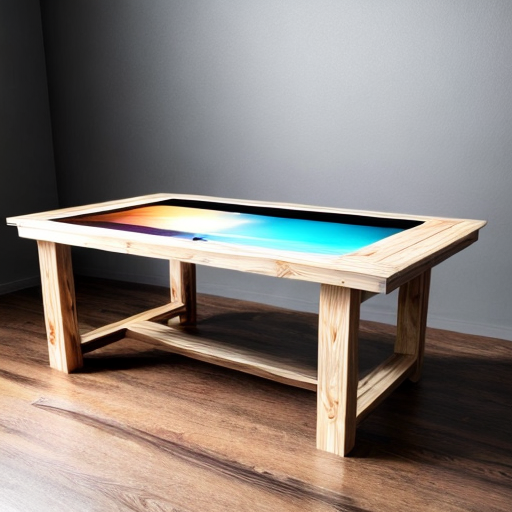
So, you've decided to take on the task of painting your wood table. Bravo! But before you dive into the colorful world of transforming your table into a masterpiece, let's talk about preparing the wood surface. Think of it as giving your table a spa day before the big makeover. First, you'll want to clean the surface thoroughly, removing any dirt, grime, or mysterious sticky substances (we won't ask how they got there). Next, grab some sandpaper and gently rough up the surface, creating a perfect playground for the paint to adhere to. Remember, we're not trying to start a wood sanding marathon here, just a light buffing session. Finally, wipe away any dust or debris, because nobody wants their table to have a speckled look unless it's a trendy polka dot design. Now that your wood surface is prepped and ready, it's time to unleash your inner Picasso and let the painting extravaganza begin!
An interesting fact about painting a wood table is that using a primer before applying the paint can significantly enhance the durability and longevity of the paint job. Primer creates a smooth and even surface for the paint to adhere to, preventing it from chipping or peeling off easily. Additionally, primer helps to seal the wood, preventing any moisture from seeping in and causing warping or damage over time. So, investing a little extra time in applying a primer can make a big difference in the overall quality and longevity of the painted wood table.
Now that you've prepped your wood table like a pro, it's time to choose the right paint and tools for the job. Think of yourself as a paint connoisseur, carefully selecting the perfect hue to complement your table's personality. Opt for a high-quality paint that's specifically formulated for wood surfaces, ensuring a long-lasting and durable finish. As for tools, grab a trusty paintbrush or roller, depending on your preference and the size of your table. Remember, a good brush is like a magic wand in the world of painting, so choose wisely. And don't forget the painter's tape to protect any areas you want to keep paint-free. With the right paint and tools in hand, you're now equipped to transform your wood table into a work of art that would make even Van Gogh jealous. Let the painting adventure commence!

Now that you've prepped your wood table and chosen the perfect paint, it's time to dive into the exciting world of applying the base coat. This is where the real magic happens, so grab your paintbrush or roller and let's get started. First things first, make sure you're working in a well-ventilated area because nobody wants to get high on fumes while unleashing their inner Picasso. Start by pouring a small amount of paint into a tray, and dip your brush or roller into it, making sure to remove any excess paint. Now, here's the secret to achieving a smooth finish: use long, even strokes in the direction of the wood grain. Think of yourself as a zen master, gracefully gliding your brush or roller across the surface, leaving behind a trail of perfection. Avoid the temptation to go back and forth or apply too much pressure, as this can result in unsightly brush marks or roller lines. Remember, patience is key here. Allow the base coat to dry completely before moving on to the next step, because rushing this process is like trying to bake a cake without preheating the oven - it just won't end well. So take a break, grab a cup of coffee, and let the base coat work its magic. When you come back, you'll be ready to take your wood table to the next level with the final coat of paint. Get ready to witness the transformation unfold before your very eyes!
A fun fact about painting a wood table is that you can get creative and use unconventional tools to achieve different textures and patterns. For example, instead of using a paintbrush, you can try using a sponge, crumpled plastic wrap, or even a potato cut in half to create unique and interesting designs on your table surface. So, don't be afraid to think outside the box and experiment with different materials to make your wood table truly one-of-a-kind!
Now that you've successfully painted your wood table and marveled at its newfound beauty, it's time to add the finishing touches and ensure its longevity. Sealing and protecting your painted masterpiece is crucial to keep it looking fresh and vibrant for years to come. Choose a clear, water-based polyurethane sealant that is specifically designed for painted wood surfaces. Using a clean brush or roller, apply a thin and even coat of the sealant, following the manufacturer's instructions. This protective layer will shield your table from scratches, spills, and everyday wear and tear. Remember to let the sealant dry completely before using your table, as patience is once again the key to success. And to maintain the beauty of your painted wood table, avoid placing hot objects directly on the surface, use coasters for drinks, and clean it with a gentle, non-abrasive cleaner. With these final steps, your painted wood table will not only be a stunning centerpiece but also a durable and long-lasting addition to your home. Enjoy the fruits of your labor and bask in the admiration of your friends and family!