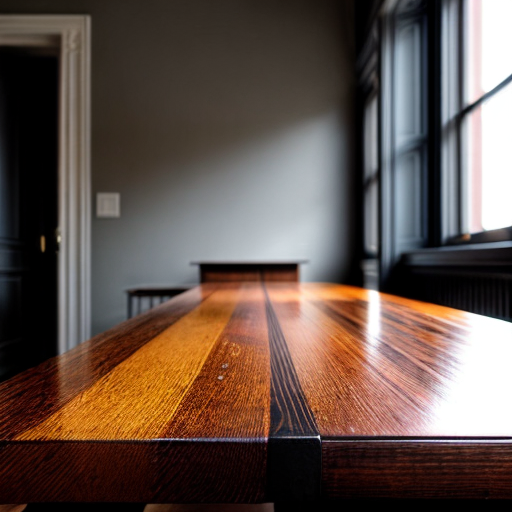
So, you've decided to take on the challenge of refinishing a wood table. Bravo! It's like embarking on a quest to restore a piece of furniture to its former glory. But before you can unleash your inner DIY guru, you need to prepare the wood surface. Think of it as giving your table a spa day, minus the cucumber slices. First, you'll need to remove any existing finish, like an exfoliating scrub for wood. Sanding is the name of the game here, but be warned, it can get a bit messy. Dust will fly like confetti at a wild party, so make sure to wear protective goggles and a mask, unless you want to rock the 'woodworker chic' look. Once you've conquered the sanding stage, wipe down the table with a damp cloth to remove any lingering debris. Congratulations, you've successfully prepped your wood surface! Now, onto the next step in this epic furniture makeover.
An interesting fact about refinishing a wood table is that using coffee grounds can help to hide scratches and imperfections on the surface. By mixing coffee grounds with water to create a paste-like consistency, you can apply it to the scratched areas and gently rub it in. The natural color of the coffee grounds can help to darken the scratches, making them less noticeable and giving the table a more uniform appearance.
So, you've made it past the initial wood surface preparation and now it's time to dive into the world of stripping and sanding techniques. Think of it as the ultimate workout for your table, where you'll be shedding layers of old finish and revealing the natural beauty beneath. Grab your trusty stripping agent and apply it generously, like a face mask for your table. Let it work its magic, breaking down the old finish and making it easier to remove. Now comes the fun part - sanding. It's like giving your table a spa-worthy massage, but with sandpaper. Start with a coarse grit to remove any stubborn remnants, then gradually work your way up to a finer grit for that smooth-as-silk finish. Remember, patience is key here. Take breaks, hydrate, and maybe even do a few stretches to keep those sanding muscles limber. Once you've achieved the desired level of smoothness, wipe away the dust and admire your handiwork. Your wood table is one step closer to becoming a true masterpiece.

Now that you've conquered the stripping and sanding stages of refinishing your wood table, it's time to bring out the big guns - staining and sealing. This is where the true magic happens, as you enhance the natural beauty of the wood while also ensuring its durability for years to come. Choose a stain that complements your desired aesthetic, whether it's a rich mahogany or a light oak. Think of it as giving your table a makeover with a new coat of makeup. Apply the stain evenly, using a brush or a cloth, and let it penetrate the wood for the recommended amount of time. It's like letting the stain work its charm, bringing out the unique grain patterns and adding depth to the surface. Once the stain has worked its magic, it's time to seal the deal. Grab a high-quality polyurethane or varnish and apply it in thin, even coats. This is like giving your table a protective shield, guarding it against spills, scratches, and the wear and tear of everyday life. Be sure to follow the manufacturer's instructions for drying times and sanding between coats to achieve that flawless finish. And voila! Your refinished wood table is now a true masterpiece, ready to take center stage in your home. So sit back, admire your handiwork, and maybe even raise a glass to your newfound DIY skills. Cheers to a job well done!
A fun fact about refinishing a wood table is that you can use unconventional materials to create unique finishes. For example, you can use coffee grounds to create a rich, antique-like stain on the wood. Simply mix used coffee grounds with water to create a paste, apply it to the surface of the table, and let it sit for a few hours. Then, wipe off the paste and seal the table with a clear coat. This method not only adds a beautiful and distinctive look to your table but also gives it a delightful aroma!
Now that you've successfully refinished your wood table, it's time to add those finishing touches and learn how to maintain its luster. First, consider adding felt pads to the bottom of any objects that will be placed on the table to prevent scratches. It's like giving your table a set of cozy slippers. Additionally, using coasters and placemats can help protect the surface from heat and moisture. Think of it as giving your table a stylish wardrobe. Regularly dusting and cleaning the table with a gentle wood cleaner will help maintain its shine and keep it looking its best. And if any accidents do occur, like a spilled glass of wine or a wayward marker, address them promptly to prevent staining. Remember, your refinished wood table is a work of art, so treat it with care and it will continue to bring beauty and functionality to your space for years to come.