So, you've got a table that has seen better days, huh? Well, fear not, my fellow furniture enthusiasts, for I am here to guide you through the treacherous journey of assessing the sorry state of your beloved table. First things first, put on your detective hat and inspect every nook and cranny. Is it wobbly like a newborn giraffe trying to find its footing? Are there scratches and dents that resemble a battlefield of epic proportions? Take note of these battle scars, my friends, for they will serve as a testament to the table's resilience. Now, let's not forget the most important step of all – take a deep breath and summon your inner DIY wizard, because it's time to refurbish this table and give it a new lease on life!
An interesting fact about refurbishing a table is that using unconventional materials can create stunning results. For example, instead of traditional wood stains, one can use coffee grounds to give the table a unique and rustic appearance. The natural tannins in coffee can darken the wood and create a beautiful, earthy color. This eco-friendly technique not only adds character to the table but also gives it a delightful aroma.
Alright, fellow table refurbishers, it's time to roll up those sleeves and get down to business! Before we dive headfirst into the magical world of refurbishment, we must first prepare our table for the transformation that awaits. Grab your trusty sandpaper and gently sand away any rough edges and imperfections, like a masseuse kneading out knots. Give it a good wipe down to remove any dust or grime, as if you're giving your table a spa day. And let's not forget about those stubborn stains – tackle them with a stain remover like a fearless warrior facing their nemesis. Once your table is clean, smooth, and ready for action, you'll be one step closer to creating a masterpiece that will make even the most stylish of unicorns jealous!
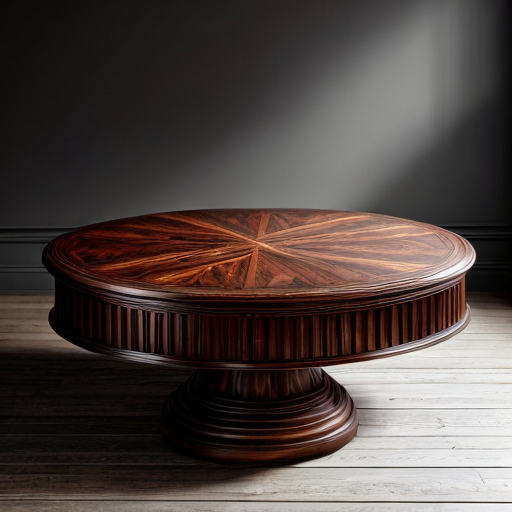
Ah, the moment of truth has arrived, my fellow table refurbishers! It's time to choose the right refinishing technique that will elevate your table from drab to fab. But fear not, for I am here to guide you through this daunting decision-making process. First and foremost, consider the style and aesthetic you wish to achieve. Are you going for a rustic farmhouse vibe or a sleek modern look? This will determine whether you opt for a distressed paint finish or a glossy lacquer. Next, assess the condition of your table's current finish. Is it chipped and peeling like a sunburned lizard? In that case, a complete strip and refinish might be in order. However, if the existing finish is still intact, you can simply sand it down and apply a fresh coat of stain or paint. Now, let's talk about the level of commitment you're willing to make. Are you ready to invest time and effort into a complex technique like marquetry or inlay? Or do you prefer a simpler approach, like a basic paint job or a stain and seal? Consider your skill level and the amount of time you're willing to dedicate to this project. Lastly, don't forget to take into account the durability and functionality of the chosen technique. Will it withstand the test of time and the occasional spilled glass of red wine? Will it be easy to clean and maintain? These are crucial factors to consider when refurbishing your table. So, my friends, take a deep breath, trust your instincts, and choose the refinishing technique that speaks to your creative soul. With the right technique in hand, your table will become a true masterpiece that will leave your guests in awe and your unicorns dancing with joy!
Fun fact: Did you know that refurbishing a table can be as simple as using a common household item? Rubbing a walnut on scratches or dings can help to mask them and restore the table's natural shine. The natural oils in the walnut act as a quick fix, making it a fun and easy way to give your table a mini makeover!
Now that you've successfully transformed your table into a work of art, it's time to add those finishing touches and ensure its longevity. Give yourself a pat on the back, my fellow table refurbishers, for you've come a long way! To protect your newly refurbished table, apply a clear coat of varnish or polyurethane. This will not only enhance its beauty but also provide a protective barrier against spills and scratches. Remember to let each coat dry thoroughly before applying the next, just like a patient artist waiting for their masterpiece to come to life. And let's not forget about maintenance! Treat your table with love and care, my friends. Use coasters for those ice-cold beverages and trivets for hot dishes. Regularly clean it with a gentle, non-abrasive cleaner to keep it looking fresh and fabulous. And if accidents happen, don't fret! Keep a touch-up kit handy to quickly fix any minor blemishes that may occur. With these finishing touches and maintenance tips, your refurbished table will continue to shine bright and be the envy of all who lay eyes upon it!