So, you've decided to dive into the world of resin table top coating, huh? Well, buckle up and get ready for a wild ride of sticky situations and glossy finishes! First things first, make sure you have a well-ventilated area because let's face it, you don't want to end up high as a kite on resin fumes. Next, prep your table like you're prepping for a hot date - sand it down, clean it up, and make it smooth as a baby's bottom. Now comes the fun part, mixing the resin and hardener together. It's like a chemistry experiment, but instead of blowing up the lab, you're creating a masterpiece. Pour that liquid gold onto your table and spread it around like Picasso with a paintbrush. Just remember, patience is key here, my friend. Let that resin cure and work its magic, transforming your table into a shiny, durable work of art. And voila! You've just resin-ed your way to furniture greatness. Now, sit back, relax, and enjoy your new resin-coated table, because you, my friend, are officially a resin rockstar!
An interesting fact about how to resin a table top is that resin art techniques can create stunning effects, such as the appearance of flowing rivers or vibrant galaxies, by using various pigments, dyes, and additives. These techniques involve pouring and manipulating the resin on the table surface, allowing artists to create unique and mesmerizing designs that can transform an ordinary table into a work of art.
Alright, let's get down to business and prepare that table surface for some resin action! First things first, give your table a good cleaning. Dust, dirt, and crumbs have no place in the resin world. Next, grab some sandpaper and start sanding away any imperfections. Smooth out those rough edges and create a surface that's as smooth as a baby's bottom. Now, wipe down the table with a tack cloth to remove any lingering dust particles. It's time to make that table shine! Apply a coat of primer to ensure that the resin adheres properly. And there you have it, a perfectly prepped table surface ready to be transformed into a resin masterpiece. So, roll up those sleeves and get ready to resin like a pro!
Alright, my fellow resin enthusiasts, get ready for a step-by-step guide to applying resin on a table top that will leave you with a glossy, durable finish that will make all your friends green with envy. First things first, gather your materials. You'll need resin and hardener, mixing cups, stirring sticks, a heat gun or torch, a drop cloth or plastic sheeting to protect your workspace, and of course, the table top itself. Now, let's dive in!
Step 1: Prep the table surface. As mentioned before, clean the table thoroughly to remove any dust, dirt, or debris. Sand down any imperfections and wipe away the dust with a tack cloth. If there are any gaps or cracks, fill them with wood filler and let it dry.
Step 2: Protect your workspace. Resin is notorious for its sticky nature, so lay down a drop cloth or plastic sheeting to catch any drips or spills. Trust me, you'll thank me later when you're not scraping resin off your floor.
Step 3: Mix the resin and hardener. Follow the manufacturer's instructions for the correct ratio of resin to hardener. Pour the desired amount of resin into a mixing cup, then add the appropriate amount of hardener. Use a stirring stick to thoroughly mix the two components together. Be sure to scrape the sides and bottom of the cup to ensure a complete and even mix.
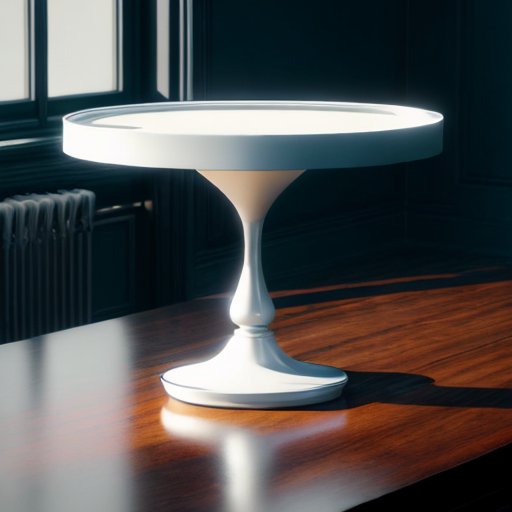
Step 4: Apply the resin. Pour the mixed resin onto the table top, starting in the center and working your way outwards. Use a spreader or a foam brush to evenly distribute the resin over the entire surface. Be mindful of any edges or corners to ensure full coverage. If you're going for a thicker coat, you can pour additional layers once the first one has cured.
Step 5: Eliminate bubbles. Ah, the dreaded bubbles. To get rid of them, use a heat gun or torch to gently pass over the surface of the resin. The heat will cause the bubbles to rise and pop, leaving you with a smooth finish. Be careful not to hold the heat source too close or for too long, as it can scorch the resin.
Step 6: Let it cure. Now comes the waiting game. Follow the manufacturer's instructions for the curing time, as it can vary depending on the type of resin used. During this time, make sure the table is in a dust-free environment and avoid any unnecessary disturbances. Patience is key here, my friends.
Step 7: Enjoy your masterpiece. Once the resin has fully cured, you can sit back, relax, and admire your newly transformed table top. It's now ready to withstand the test of time, spills, and everyday wear and tear. So go ahead, invite your friends over, and bask in the glory of your resin-coated masterpiece.
And there you have it, a comprehensive guide to applying resin on a table top. Remember, practice makes perfect, so don't be discouraged if your first attempt isn't flawless. Embrace the learning process, experiment with different techniques, and soon enough, you'll be resin-ing like a pro. Happy resin-ing, my friends!
Did you know that resin can create stunning effects on a table top? By using different colors and techniques, you can make your table look like a mesmerizing galaxy or a serene ocean! It's like having a work of art right in your dining room.
Now that you have successfully resin-ed your table top, it's time to add those finishing touches and learn how to maintain its stunning appearance. First, inspect the surface for any imperfections or rough spots. Use fine-grit sandpaper to smooth out any bumps, then wipe it clean with a damp cloth. To enhance the shine and protect the resin, apply a clear topcoat or wax. This will give your table that extra pop and make it easier to clean. Speaking of cleaning, avoid using abrasive cleaners or scrubbing brushes that can damage the resin. Instead, opt for a mild soap and water solution, gently wiping the surface with a soft cloth. Lastly, protect your table from excessive heat and direct sunlight, as prolonged exposure can cause the resin to yellow or become brittle. With these finishing touches and maintenance tips, your resin table will remain a stunning centerpiece for years to come.