So, you've got a table with a worn-out finish, huh? Well, fear not, my fellow furniture enthusiasts, for I am here to guide you through the mystical realm of table top finishes! Now, before we dive into the nitty-gritty, let's establish that restoring a table top finish is like giving your table a well-deserved spa day. First things first, you need to strip off that old, tired finish. Think of it as exfoliating the table's skin, but without the cucumber slices on the eyes. Once you've revealed the naked wood, it's time to choose a new finish. This is where things get exciting! You can go for a classic varnish, a trendy lacquer, or even a fancy-pants epoxy resin. Just remember, picking the right finish is like choosing the perfect outfit for your table. You want it to shine, but not overpower the room. So, my friends, grab your sandpaper and let's embark on this epic journey of table top restoration!
An interesting fact about restoring table top finish is that using a mixture of equal parts of mayonnaise and baking soda can help remove water rings and restore the shine of a wooden table. The oil in mayonnaise helps to penetrate the wood and moisturize it, while the baking soda acts as a gentle abrasive to remove the water rings. This simple and unconventional method can be a cost-effective and eco-friendly solution for rejuvenating a dull or damaged table top.
Alright, fellow table top restorers, let's get down to business and prepare that surface for a glorious restoration! First things first, we need to clean that table like it's about to go on a blind date. Grab some mild soap, warm water, and a soft cloth, and give that table a good scrub. Get rid of any dirt, grime, or mysterious sticky substances that may have taken up residence on your beloved surface. Once it's squeaky clean, it's time to grab your sandpaper and channel your inner Zen master. Gently sand the surface, going with the grain, to smooth out any imperfections and create a fresh canvas for your new finish. Remember, my friends, patience is key here. Take your time, enjoy the process, and let your table know that it's about to undergo a magnificent transformation.
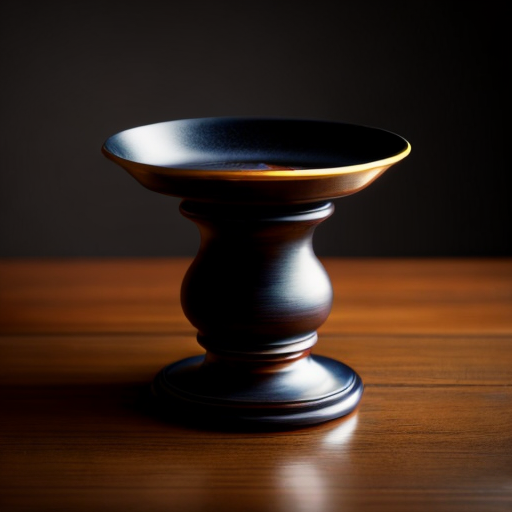
Ah, the moment of truth has arrived, my fellow table top enthusiasts! It's time to choose the perfect finish for our beloved tables. Now, there are a plethora of options out there, so let's dive into the magical world of finishes and explore the different types and application methods.
First up, we have the classic varnish. This tried and true finish is known for its durability and protective qualities. It's like giving your table a suit of armor, ready to withstand the daily battles of spills, scratches, and general wear and tear. Applying varnish is like painting a masterpiece. Grab a brush, dip it in the varnish, and gently stroke it onto the surface, going with the grain. Allow it to dry, sand it lightly between coats, and repeat until you achieve the desired level of sheen.
If you're looking for a more modern and sleek finish, lacquer might be your go-to choice. Lacquer is like the cool kid on the block, with its glossy and smooth appearance. Applying lacquer requires a bit more finesse. You'll need to spray it onto the surface in thin, even coats, making sure to maintain a consistent distance and speed. It's like giving your table a fine mist of perfection. Just be sure to work in a well-ventilated area and wear a mask to protect yourself from those lacquer fumes.
Now, if you're feeling adventurous and want to take your table to the next level, epoxy resin is the way to go. This finish is like a glassy, crystal-clear shield that will make your table shine like a diamond. Applying epoxy resin is a bit more involved, as it requires mixing two components together and pouring it onto the surface. It's like performing a scientific experiment, but with a beautiful outcome. Be sure to follow the instructions carefully, as improper mixing or pouring can lead to a sticky disaster. But fear not, my friends, with a little practice and patience, you'll achieve a stunning, high-gloss finish that will make your table the envy of all.
So, my fellow table top restorers, the choice is yours. Whether you opt for the classic varnish, the sleek lacquer, or the daring epoxy resin, remember to consider the style of your table and the desired level of protection. Experiment, have fun, and let your table's personality shine through. After all, restoring a table top finish is like giving it a new lease on life, a chance to dazzle and delight for years to come. Happy finishing, my friends!
A fun fact about restoring table top finish is that you can use a surprising ingredient to remove water rings or heat marks from the surface: mayonnaise! Simply apply a small amount of mayonnaise to the affected area, let it sit for a few hours, and then wipe it off. The oils in the mayonnaise can help to rehydrate the wood and remove the marks, leaving your table looking as good as new!
Now, let's dive into the step-by-step restoration process to achieve that professional result and make your table top shine like a superstar. Once you've chosen your desired finish, it's time to apply it with precision and finesse. Start by ensuring your workspace is clean and well-ventilated. Then, using a brush, roller, or spray gun, apply the finish in thin, even coats, following the manufacturer's instructions. Take your time and work methodically, going with the grain of the wood. Allow each coat to dry completely before lightly sanding the surface with fine-grit sandpaper to smooth out any imperfections. Repeat this process, applying multiple coats until you achieve the desired level of sheen and protection. Remember, my friends, patience and attention to detail are key to achieving that professional finish. So, put on your DIY cape, grab your tools, and let's restore that table top to its former glory!